Quickstart JetBrains (IntelliJ etc.)
Quickstart with JetBrains
Make sure you have installed Devsy on your system.
Install Prerequisites
Make sure to install the following prerequisites:
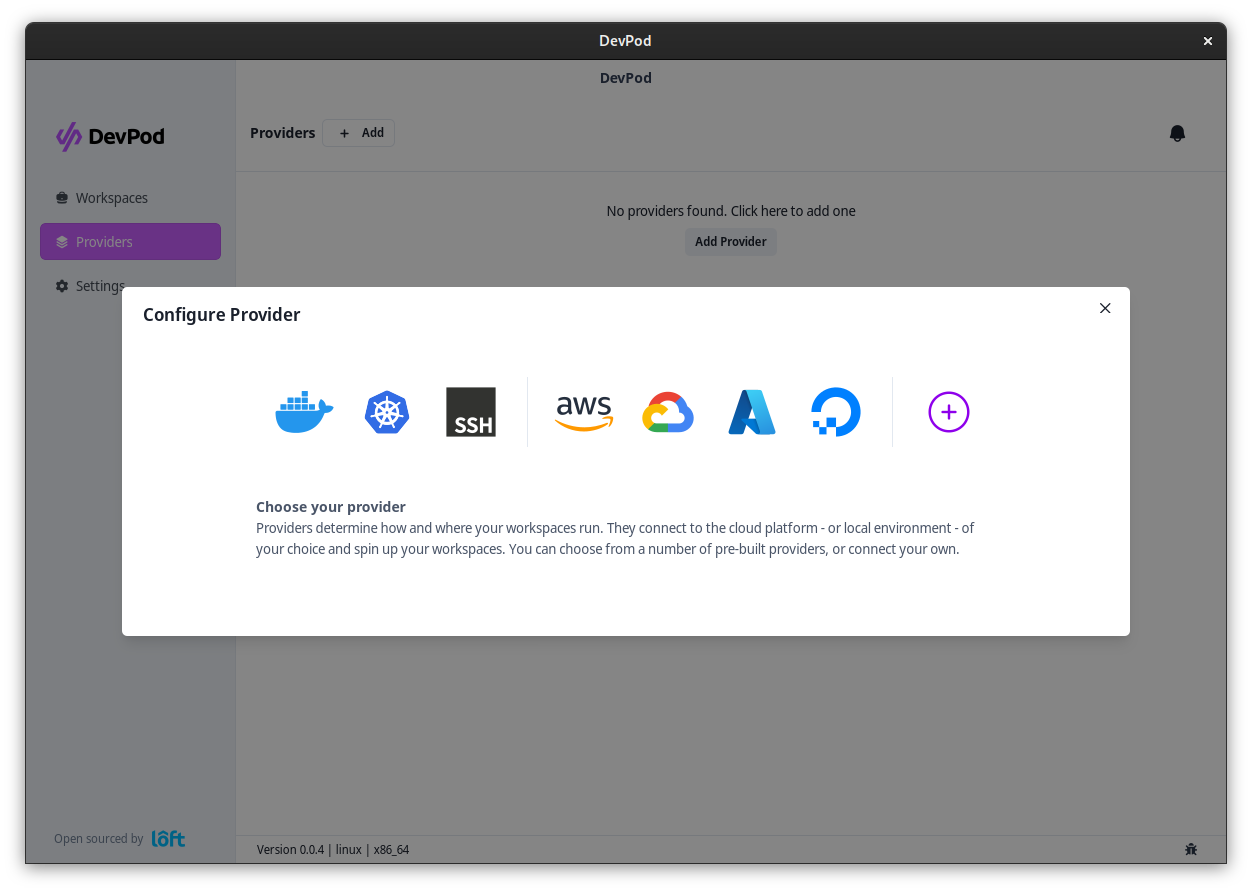
Add a Provider
Add a provider via 'Providers' > '+ Add'. Select a provider and select 'Continue'.
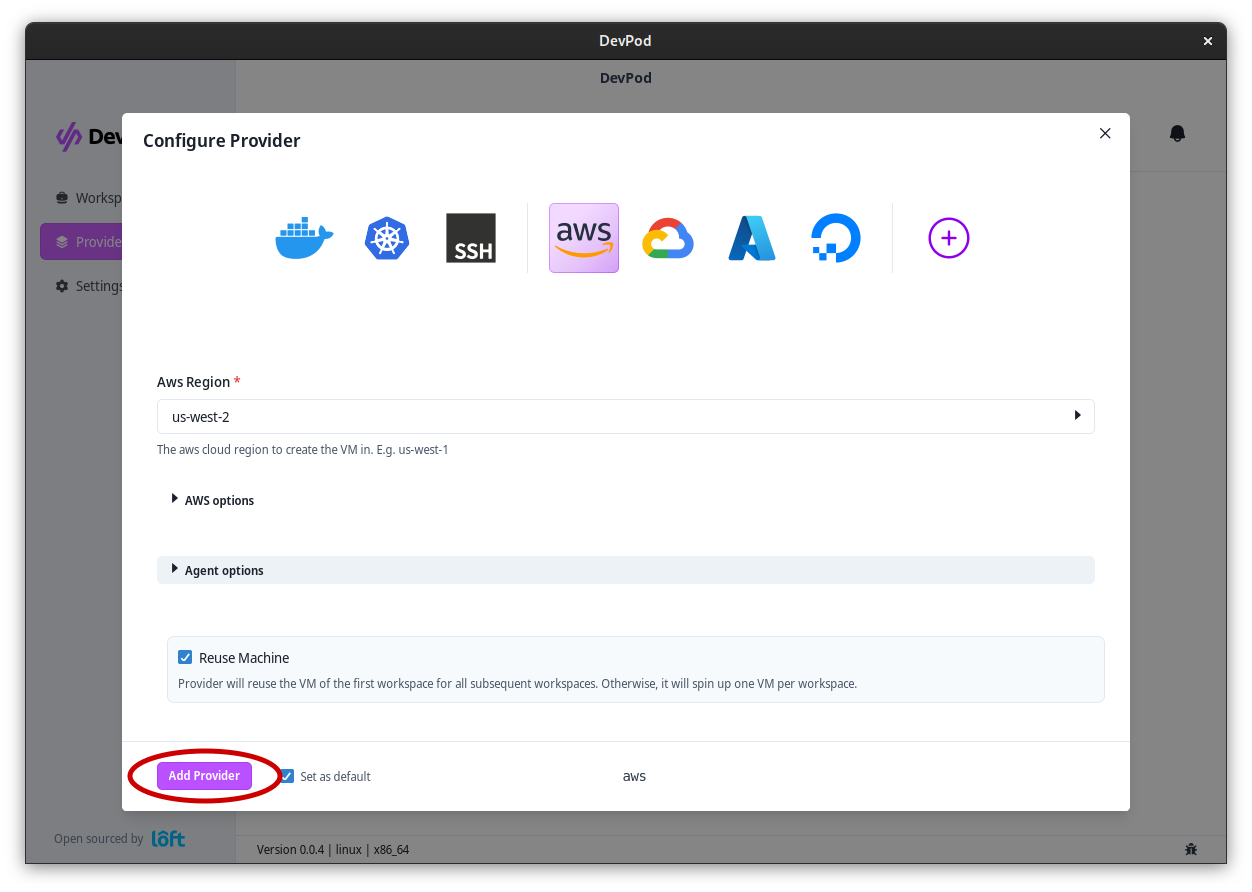
After selecting a provider, fill out the options (if necessary) and click on 'Add Provider'
Start a Workspace
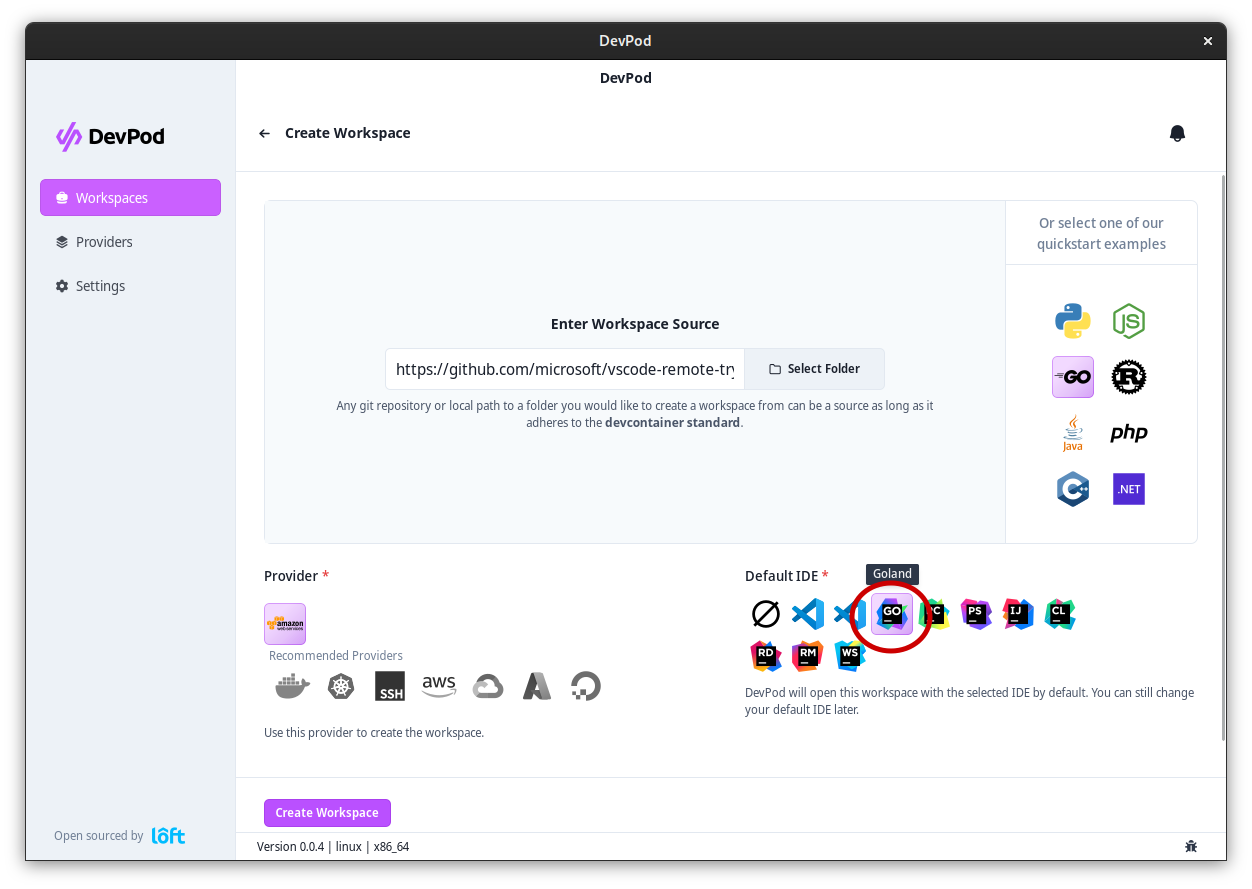
Navigate to 'Workspaces' > '+ Create' to launch the workspace wizard. Step through:
- Provider – pick an initialized provider.
- Source – enter your project URL or choose one of the quickstart templates.
- IDE – pick a JetBrains IDE (for example IntelliJ IDEA, GoLand, PyCharm, WebStorm, RustRover, RubyMine, CLion).
- Review – confirm the configuration.
- Launch – start the workspace.
The wizard streams logs as Devsy starts the workspace. After the workspace was created, JetBrains Gateway should automatically open with a prefilled form for the workspace.
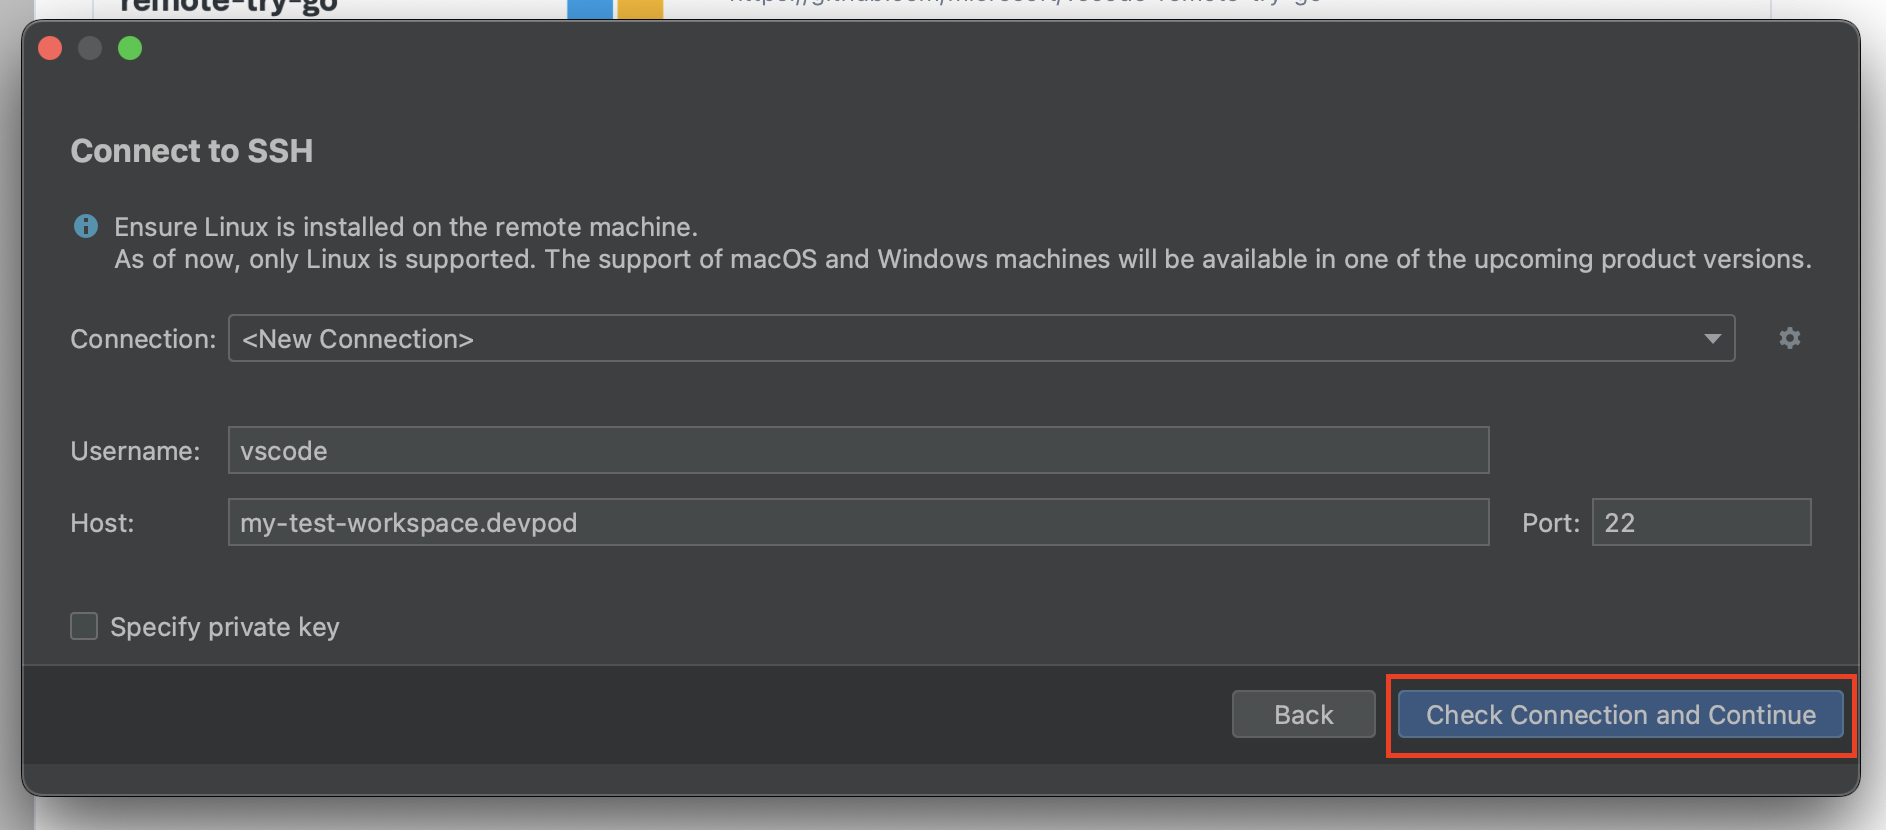
Press 'Check Connection and Continue' without changing any configuration. This should start the IDE in the workspace. After the IDE has been initialized, your JetBrains IDE should open up inside the workspace.