Quickstart Vim/Neovim
Quickstart with Vim/Nvim
Make sure you have installed Devsy on your system.
Add a Provider
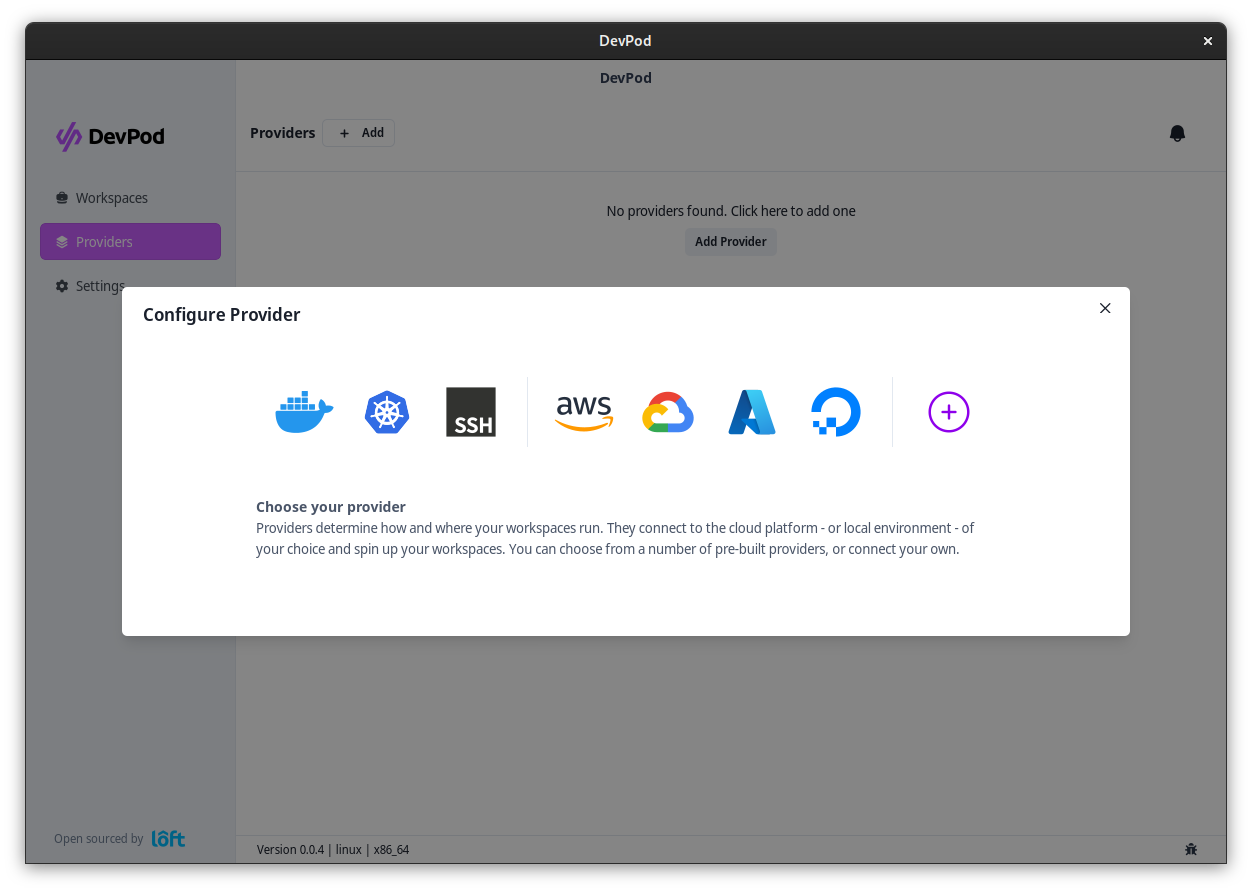
Add a provider via 'Providers' > '+ Add'. Select a provider and select 'Continue'.
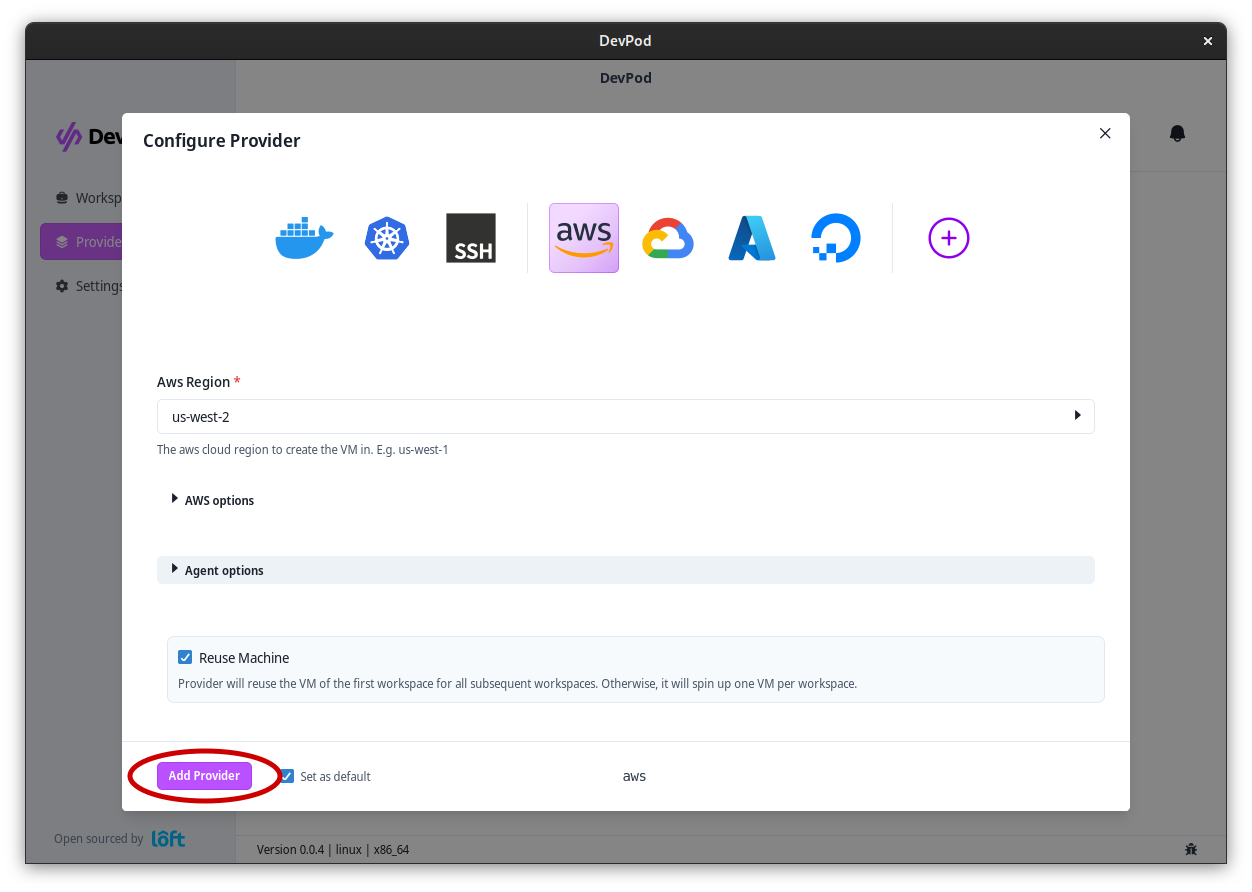
After selecting a provider, fill out the options (if necessary) and click on 'Add Provider'
Start a Workspace with Vim/Neovim
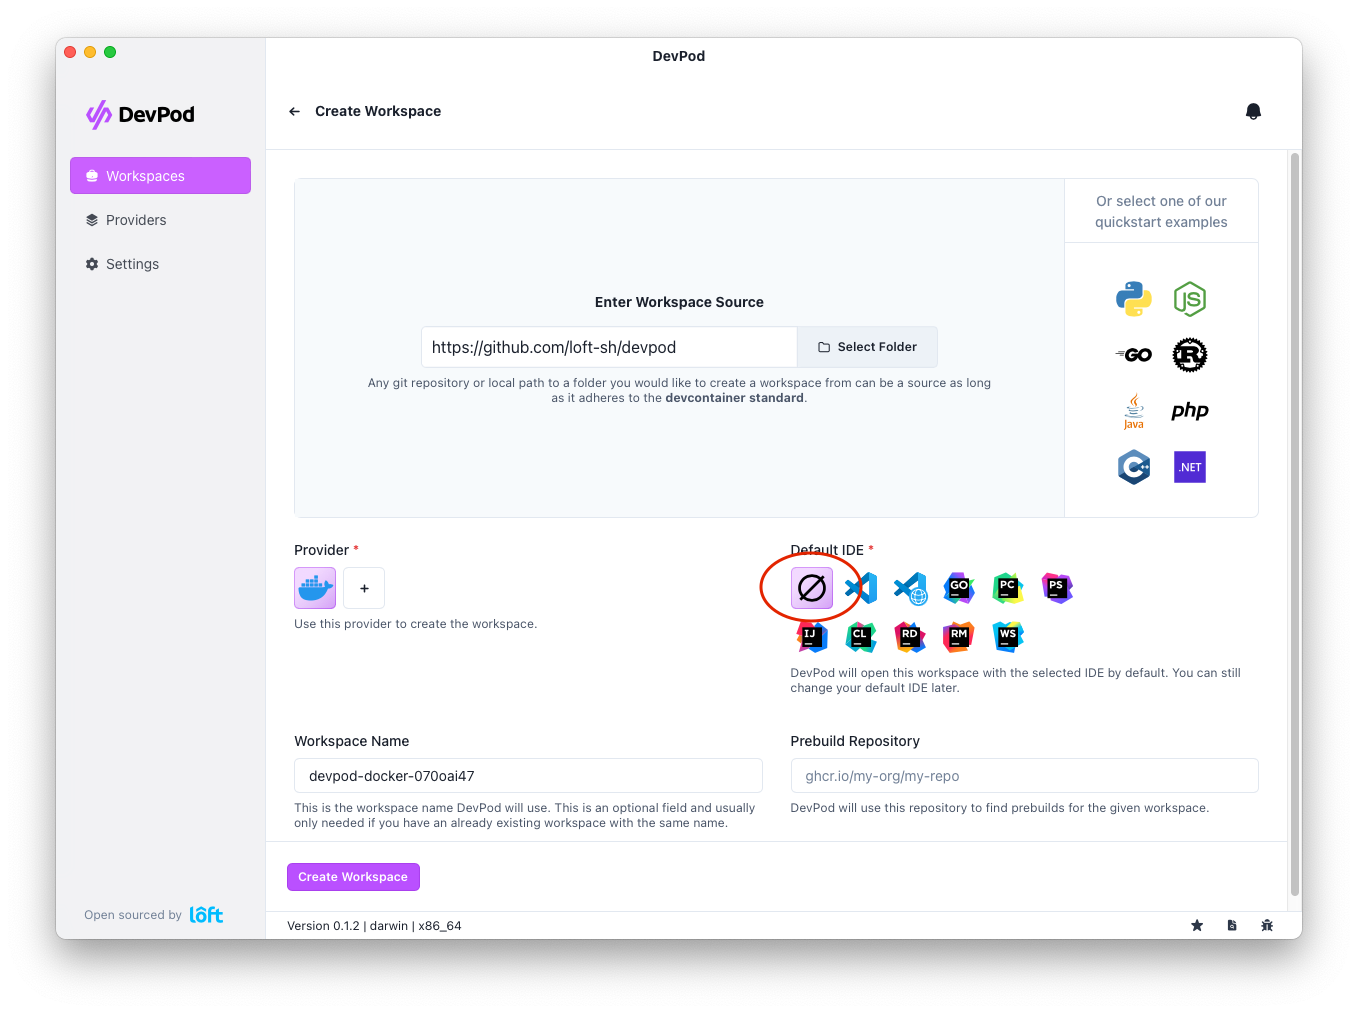
Navigate to 'Workspaces' > '+ Create' to launch the workspace wizard. Step through:
- Provider – pick an initialized provider.
- Source – enter your project URL or choose one of the quickstart templates.
- IDE – select None.
- Review – confirm the configuration.
- Launch – start the workspace.
After the workspace is created, you have two options to start coding in vim:
Netrw/SCP
Vim/Neovim allow you to edit remote files using Netrw.
You can connect it either from within vim :e scp://[user@]machine[[:#]port]/path or by starting vim with vim scp://[user@]machine[[:#]port]/path.
When you open the workspace, the Devsy logs give you the user/machine combination you'll need to connect to the workspace, usually in the format of WORKSPACE_NAME.devsy
Spinning up your vim config in the workspace
Since Devsy's target environment is a Docker container, you can also SSH into it and install your vim/neovim configuration like you would on any new machine.
To connect to the workspace, run the command Devsy gives you after starting the workspace, usually ssh WORKSPACE_NAME.devsy.